DIY Outdoor Projector Screen: A Step-By-Step Guide
- Mark Cisek
- Sep 3, 2025
- 3 min read

Updated: May 19
Skill Level: Beginner
Overview:
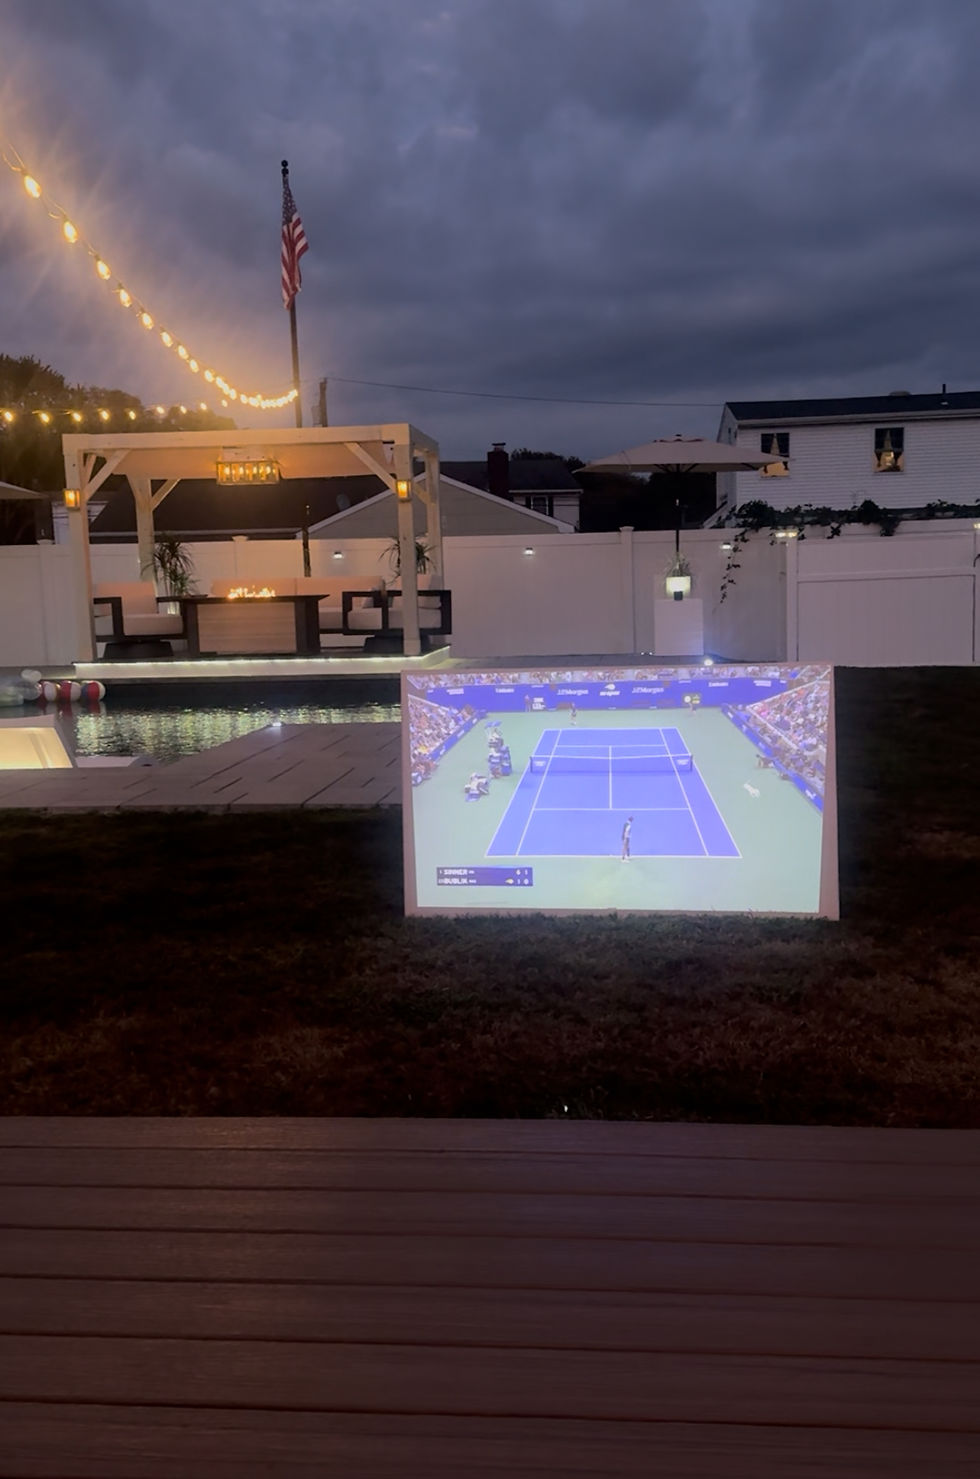
Building a DIY outdoor projector screen is about as easy as backyard projects get. It takes just a little time and effort, and suddenly you’ve got a big-screen setup right in your yard. It’s the kind of project that makes DIY feel fun instead of overwhelming. Whether it’s movie night on a fall night or catching a game, it’s a laid-back way to hang out with the family outside.
Choosing Your Materials:
Go with materials that can handle the outdoors with almost no upkeep. For the frame, PVC or composite boards are the best choice since they won’t rot, warp, or need staining. For the screen surface, use a solid white PVC sheet. It gives you a clean projection surface, won’t sag like fabric, and is easy to wipe down if it gets dirty. Use stainless steel or exterior-grade screws to hold everything together so the frame stays solid in any weather. This way you’ve got a screen you can leave outside without worrying about it breaking down.
Materials:
Tools:

Step 1: Build the Outer Frame
Start by cutting your PVC boards to size. Take the 2.5" x 8' PVC wood and cut two pieces down to 54" with 45° angles on both ends. Then cut two more pieces down to 32", also with 45° angles on the ends. Arrange them into a rectangle and secure the corners with two 2.5" exterior screws at each joint.

Step 2: Add the Middle Support
Cut one more piece of 2.5" PVC wood to 27" in length. Find the center point of the outer frame by marking the midpoint at both the top and bottom. Position the 27" board vertically in the middle, lining it up with those marks. Secure it by driving 3" exterior screws through the top and bottom of the frame into the support piece.

Step 3: Attach the Velcro
Take your exterior-grade Velcro and run one side of it around the entire face of the frame, keeping it about ½ inch in from the edges. On the middle support, apply a 24" strip of Velcro straight down the center.

Step 4: Cut the PVC Sheet
Measure and mark a rectangle 54" wide by 32" tall on your 1/8" PVC sheet. Once marked, score along the lines with a sharp utility knife to cut out your screen.

Step 5: Prep the PVC Sheet with Velcro
Take the opposite side of your Velcro and apply it directly to the PVC sheet. Run it ½ inch in from all four edges so it lines up with the strips on your frame. Add a 24" strip down the center of the sheet to match the Velcro on the middle support.

Step 6: Attach the PVC Sheet
Lay the PVC sheet over the frame, lining up the Velcro on both surfaces. Start at one end and press the sheet into place, working your way across to the other side.
Final Thoughts:
With the frame and screen complete, you have flexibility in how you set it up. Add O screws to the top if you want to hang it, lean it against a fence for quick use, or prop it up with supports from the back. The design makes it easy to move around so you can place it anywhere in the yard or even bring it inside. If you prefer a permanent setup, you can mount it in one spot. Either way, you now have a projector screen that fits your space and your style.
Also take note that this screen can be built to any size. If you want something larger or smaller, simply adjust the frame dimensions to match. Because the frame and sheet are made from exterior materials, you can leave the screen outside year-round without worrying about damage.


Comments